Friday, March 12, 2010

Age of Dreadnoughts Game

German Battlecruisers keep British Destroyers at bay.

For our February Armchair Admirals night, Chris at GAJO set up a great scenario using the "Age of Dreadnoughts" rules by Mongoose Publishing. He created a strategic map that let each admiral plot their fleet movements and when contact was made, the ships came out. Great job, Chris!

Norm made a dashing destroyer admiral and definitely proceeded aggressively in his search for the German ships. Gary R played his role as the German admiral very carefully, and definitely had us double-guessing ourselves as he managed to shell the English coast and lay a minefield. There was a great moment of uncertainty when one of the British destroyers mysteriously blew up- was it a sub or a mine? Eventually though, we managed to get in range to attack the german ships. In the first encounter, the smaller cruisers tried to identify and slow the German battlecruisers but they took a terrific pounding and some losses.


British battlecruisers enter from the right. German Battlecruisers need to exit at photo bottom.

Norm charged in with his British battlecruisers. My British dreadnoughts were one map hex away, struggling to get into the fight. Norm decided to really give the rules a test and charged right in!

As the Germans cross the "T", British battlecruisers turn to port from the line ahead formation.


Damaged German ships on the left fall behind, but leading British ships are taking serious hits.


Blucher is in trouble, and the Lion-class battlecruisers are repeatedly hit. Tiger is in trouble.


1/6000 HMS Tiger by Figurehead miniatures.

Although we did not get to the point where my dreadnoughts could come into play, I was very impressed by these rules. The combat system is fun, record-keeping is fair, and I love the special traits and actions allowed by the rules. We'll be trying this again. After all, the Germans got away...

Monday, January 4, 2010

Arbruthnot vs. Des Touches 1781

French on left, British on Right.

The Armchair Admiral night game was held Saturday night with 4 players. We were recreating the same scenario from the American Revolution that we had played late last year. Then, we used the Grand Fleet Actions rules. This time, we played using Warhammer Historical's Trafalgar naval rules.

British closing from the right while the French struggle with wind changes.

Again, we were using the "store fleets" of Figurehead's 1/2400 Age of Sail range. Ranges in Trafalgar rules were cut in half to better match the small ships. Instead of paper markers, we used different colored pipe cleaners for status markers. White represented broadsides firing, red indicated a fire on board, and brown indicated the ship could not fire for a turn.


Russ's British squadron looks like it's getting in a crossfire. Gary's Division, led by HMS London, tries to get Terry (far left) in range.

This game really ran the gamut of interesting events. especially concerning the weather! We experienced everything from becalming to wind shifts to raging storm. Mostly this was to the detriment of the French!

A hard pounding. Terry's and Russ's lead ships collide while Norm's French squadron (left side) pound the British. HMS London sets a French ship on fire.

As the British and French got in close and nasty, the two lead squadron ships collided suffering extreme hull damage. Unfortunately, Terry's damaged lead ship collided next with one of his own ships and began sinking.

Norm's French squadron tacks to the right and pounds the back end of Russ's remaining three ships.

Russ loses a ship to critical hull damage. Other ships began to take multiple critical hits and soon several ships have problems steering.

Gary's squadron prepares to rake the French.

Suddenly a gale turns into a raging storm and cuts ranges down and the firing is far less effective. Several ships catch fire but quick-acting crews douse the flames. there are sever hull and crew losses on both sides. Unfortunately, some ships put themselves in danger when they lose steering control due to severe damage.

Gary fires his raking broadsides.

As Norm's French squadron braces for devastating fire, Gary blasts away with several rakes. Splinters everywhere. Remarkably, one of the French ships takes a bow rake at near point-blank range but only suffers minor damage. Russ and Terry blast away with increasingly fragile ships.

The Fleets begin separating. Several fires taking their toll.

One of Russ's ships burns fiercely and the crew is destroyed while fighting the fire (or jumping overboard). Both sides are battered, but Gary's British squadron remains very strong and could continue the fight. Alas, the game ends.

We concluded that Trafalgar rules are very good for battles on the smaller size. Certainly weather, collisions, and gunnery were easier with this set. We'll probably use these rules for the naval campaign I hope to run this year.

Friday, January 1, 2010

Close out 2009 with Future War Commander

Space Ork battleforce advances on planet GAJO.

We were long overdue playing a game of Future War Commander! FWC is a derivative of the successful modern cobat system started with BlitzKreig Commander and followed by Cold War Commander, both sets being very popular in these here parts for their armor combat control systems. This system itself is a derivative of the awesome Warmaster and Warmaster Ancients rules sets. What makes these rules so appealing is their interesting command system, which truly brings about the element of Fog of War. This system has even been modified to work with the new BlackPowder rules from Warlord Games.

Originally this was going to be a small skirmish between my brother Dave and I, but we were joined by Ken and Dave Baker who were interested in this game as well. Normally we don't include unpainted minis, but this was a "training game" so points and paint be damned... on with the game.

In this simple scenario a unit of Traitor Guard has enticed a Space Ork Warlord, Drashnok, to help fight Imperial Guard forces on planet GAJO (umm, the store where we played the game). Each force came up on the ruins of Sixmill city from different road entry points. The goal: hold the city.

Actually Drashnok just wanted to bash things. Unfortunately, Drashnoks command abilities were severely tested by failed command rolls throughout the game. The Gargant and its infantry protection barely trudged along towards the ruins. Subcommander Acknot, however, roared forward with his battlewagon force and spotted Leman Russ tanks off to the flank. The battle began.

Traitor Guard forces advance toward the ruins, Sentinels in front.


Main Imperial Guard force includes a Warlord Titan.


Baker Company of Leman Russ tanks covers the Imperial left flank. They spot the Space Ork battlewagons. Lock and Load!


Lead battlewagon explodes and the Orks take fire. BattleFortress in the background moves just too slow.

The weapons range on Space Orks is much shorter than Imperial guard, and so I kept trying to get some Orky Fighta-bombas called in. Unfortunately the Imperium had an edge on air superiority and often prevented successful FAC rolls. The traitor guard began exchanging shots with the heavy Imperial armor as Imperial forces entered the city at the same time as Traitor Guard Rough Riders.

Traitor Guard enters the ruins as Imperial Ogryns move in from the opposite side.


Acknot's battlewagons are smashed by Baker company.


Baker Company enters the ruins to lend Imperial support.

Poor Dave the Imperial Commander had trouble moving the Warlord titan, but its great weapons range still let it fire on the distant Traitor Guard armor. Drashnok finally got the Gargant moving forward with some Big Gunz units but it was too little too late. The Traitor Guard were being pushed out of the ruins and the Orky armor was smashed.


Miracle! Space Ork Fight-Bomba makes a pass on Baker Company and scores multiple hits, but the armor survives. So does the lucky Ork pilot.

Gargant finally gets in range, to no avail.

The Gargant's shields were saving it, but those Shadowsword monster tanks and the lucky Baker Company were too close. Time to call it a day, and the Orks and Traitor Guard gave up the ruins to the Imperium.

FWC is just as much fun as its predecessor rules, and includes fun things like shields and futuristic weapons and such. The generic army lists allow you to field any manufacturer's stuff, and so we tried it with our old Epic forces which worked just fine. Another set of FWC rules was sold during the game, and everybody is planning on painting up more old Epic stuff or perhaps something from another manufacturer. Looks like the struggle for planet GAJO will continue!

Monday, December 28, 2009

BattleTech!

Kurita light lance(l-r): Spyder, Panther, Assassin, Jenner

WARNING: Some of my photos came out blurry. Tough.

Brother David and I tried a game of BattleTech today. Dave's been keen on playing this for a while, and got a nice scenario put together to try this out. His miniatures came from the Introductory Box Set and we were using the Quickstart rules. The basic scenario is that Kurita forces are building up an invasion force on one of their planets. To keep the local Comstar force from getting word of this out from the planet, Kurita military has been jamming communications. Comstar technicians have figured out a way to overcome the jamming and have sent a small ship upriver to a communications station to install the fix. Guarding the station is a Comstar light lance of Commando, Hermes, Clint and Cicada. The boat must navigate a tight river and moves only 5 inches per turn. Once within 5 inches of the station, they only need three complete turns to upload the software and the station may attempt to broadcast. If the Kurita forces destroy the boat or tower they win.

Comstar Lance defends the comstation.


Kurita lance in the deployment zone. Deployment markers by Litko.


Comstar boat moves upriver.

The Comstar boat is a toy model of a Norwegian stealth vessel Dave found on eBay. The plastic minis were just fine, although they have trouble on hill slopes.

Battle begins. Kurita left flank starts gunfighting with Comstar units. The Panther takes the hill position.

The basic Quickstart rules did not include close combat, so we battled it out. My Kurita mechs took the worst of the initial fighting.

Right flank. Panther potshots the Cicada as Spyder prepares to run for the boat.

The Panther was a slow mech for a light lance, but had the powerful PPC cannon. Each hit would score 10 damage points, but moving the Panther brought movement penalties. Arrrrg.


Left flank. Each side loses a mech. Litko explosion and smoke markers.

At some point I remembered I had an objective other than blasting away at medium range. I moved the Spyder at a run for the boat, but his rapid speed kept him from hitting the target. The Cicada went after him while the Hermes tried to stop the Panther.


Overall view. The boat is closer to the station now.


So close! The Spyder misses the boat, and Cicada misses the Spyder!

Spyder turns and fights. Scores a headshot on the Cicada, but it's not enough.

Finally- Hermes goes down and Panther is free to back up the Spyder.

Arrg! Assassin has had it, but at least immobilized the Clint. The Spyder moves up to the tower.

The boat is damaged but is still uploading software. One turn left for it to finish, and the Cicada is closing...

Pyrrhic victory. The boat is destroyed, the scenario won, but Spyder is shot in the back and destroyed...

Kurita forces succeed in stopping the Comstar mission. Left alone and badly damaged, the Panther calls it quits and retreats to pick up reinforcements. There might be a political price to pay for aggression against Comstar, but the secret buildup of Kurita forces continue to be kept quiet.

Fun game. We'll be playing Battletech again.

Friday, December 25, 2009

Space Hulk action

It's vacation time, and with both myself and my brother off work for a while we decided to get in a game or two or Space Hulk. We played it down at GAJO so that any interested store visitors could see what the game looks like when played. It just so happens that Chris was busy painting one of the Space Marine Terminators for the store copy.


Set-up for scenario 1: Suicide Mission

We started with the first scenario, Suicide Mission. It was aptly named. A squad of five terminators have to fight their way down the spaceship corridors and reach a control room, where the heavy flamer must destroy the controls before the Genestealer aliens could activate the escape pods and get away to infiltrate a nearby planet.


Squad Plasticus prepares to attack. Heavy Flamer in the middle.

The Space Marine player gets 5 marines. The Alien player gets two reinforcement counters each turn, which could be converted into 1, 2, or 3 aliens each. There is an endless supply of aliens for this scenario, so the marines really have to hurry to get to the control room before being overwhelmed. No one is coming back from this mission...


Uh-oh! Trapped!

Once the heavy flamer figure is killed, the scenario ends, and both David and I lost as we took turns playing this scenario. I got a little closer to the room but that's all. This really is a suicide mission. Can the Terminators ever win this one? I don't know.

Flame on! 4 Genestealers are about to be barbecued.

The key is to learn how to use the heavy flamer to incinerate aliens and block their passages as you move forward. Alas, the flamer only has 6 shots available, and no reloads.

Third game. Scenario 2.

For our final game we tried out scenario 2, Exterminate. The marines have a much better chance in this scenario. Unfortunately, they are spread out all over the tiles, and have to plan carefully what areas to defend. In this game, there are a set number of genestealers available, and it's a simple matter of wiping out the marines, or getting wiped out/sealed off by the marines. This scenario introduced the Assault cannon (oh, yeah!!!) and the sergeant armed with thunder hammer and storm shield, who is deadly wicked in close combat. I won this scenario by just strategically placing the marines along open lines of fire and shooting the aliens dead. Finally Dave got a bunch of the aliens tosneak down a corridor while I was clearing a storm bolter jam, and the sergeant had to risk everything by wading into the bunch of them and smearing alien guts all over the corridors. He eventually fell, but the aliens were hunted down and killed.

This is a super fun game. It's pricey, but this is a high quality set of tiles and the best minis they've done for the game. After seeing how Chris painted up one of the terminators, I can't wait to get mine painted up.

Tuesday, December 22, 2009

More Grande Armee

Grande Armee does Aspern-Essling. Aspern in foreground. Notice the carefully disguised gaming paraphenalia.

Grande Armee seems to be a favorite choice for grand tactical Napoleonics among some of our Napoleonic 15mm supporters. After the Waterloo game, there was a game scheduled for Dec. 12th. This time: Aspern-Essling 1809. This was the first time Kai got out his 15mm Austrians, who clashed that Saturday against Will's French. I arrived late, not expecting to play, but eventually wound up commanding the troops around Aspern.


Multi-brigade clash. This one's gonna hurt.

Chris at GAJO has prepared many metal 3" x 3" bases to which he attaches identification labels. The nice thing about GA is that you can use other basing to fill in the brigade bases as you wish for visual effect.

Austrian and French brigades clash before Aspern. Dave plots French destruction in the background, to no avail.

The Austrian artillery seemed to be everywhere. I made some successful assaults with my cav brigades, really focusing on combined-arms attacks, but I could never quite catch theose yellow guns. Meanwhile my strength was being steadily sapped.

The Dead Zone.

Another item I like about GA is the concept of reorganization. Dead Brigades are assumed to have pulled back to reorganize if possible. Sometimes they don't which means the brigade really was destroyed as a unit. Those which do return are placed in a corps' rear areas with lesser strength than they started with. In this game, attrition was taking a terrible toll.

After several turns of attrition, the lines reform. The French still hold Aspern.

After several exciting turns, the Austrians and the French beat each other to death around Aspern. I had reached the point of having no possible offensive options. The Austrians were in the same boat to my front. Action continued around Essling until both sides had to pull back and catch their breath. By that time we had to quit the game. So the results were similar to the actual conflict.

Thursday, November 26, 2009

Catching Up

Egads! Where has the time gone? My work schedule got a little busier, and attempts to keep up on this blog fell behind. Sorry about that. Wargaming did continue. Here's some glimpses of some of the games I've been involved in. Some are from the SNS group, and some from WFHGS.

Waterloo via Grande Armee - 15mm
Ney is in command of the French Right Flank awaiting the Prussian hordes.


1813 via General De Brigade - 15mm
Prussians and Russians hold against French allies.

WW2 Russian Front via BlitzKreig Commander - 1/285
Russian Armor flanking the town is counterattacked by desperate infantry. Panzerfausts strike back.


Massive game: North Africa WW2 via Flames of War - 15mm
British depot in center left holding against huge german armored assault.


In the Sudan via Battle For Empire (revision playtest) - 15mm
Ansar Infantry hold entrenched position behind thorny zaribas.

The Sudan, continued:
Ansar cavalry make short work of the Camel Corps and light horse.


SYW via Age of Reason - 15mm
Ottoman cavalry crunching what's left of Russian right wing.

SYW continued: Russian left assaulted on 3 sides by overwhelming Ottomans.


AWI naval action via Grand Fleet Actions - 1/2400
Arbruthnot vs. Des Touches 1781 off the Chesapeake.


Ancient warfare via Warmaster Ancients - 10mm
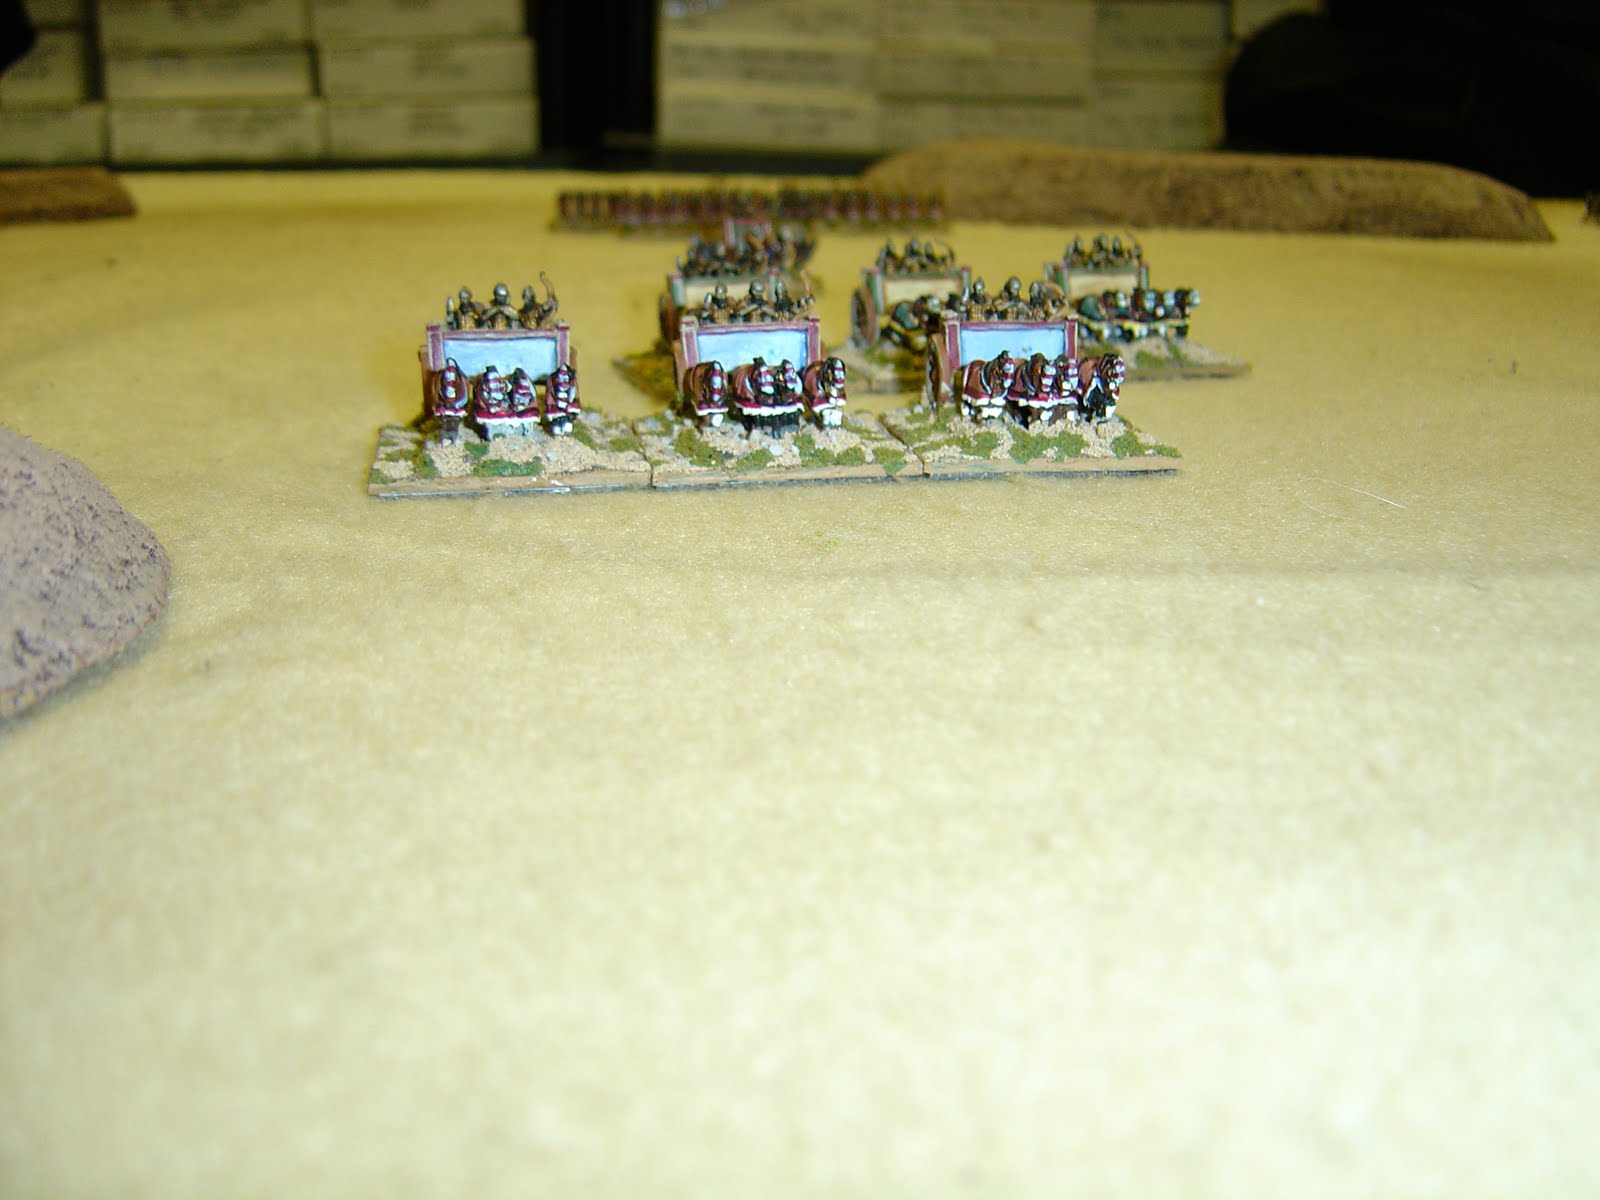
Charge of Assyrian heavy chariots.


Egyptian light chariots are speed bumps to the Assyrians.


Egyptian archers shower Assyrians in arrows, Last stand for someone...


Egyptian infantry prepare to munch what's left of Assyrian center.


Golan Heights 1973 via Cold War Commander - 15mm
Israeli artillery, tank fire and ambushing bazookas wreck a Syrian mech infantry column.